Install Magento 2.4 on ubuntu
From Magento 2.4, the web setup wizard is disabled. All installation steps must be done using the command interface, so things become more difficult for users who are not familiar with command lines. This article aims to guide you step by step to do that most simply.
Before starting, we need to prepare a server / VPS to ensure the following conditions:
- At least 2GB ram
- At least 3 cores CPU
- At least 2GB PHP memory
Also, don’t forget to connect to your server using ssh protocol with root access to run the command.
1. Install Apache
First updates the package lists in the repositories, run below command
sudo apt updateInstall Apache, run below command
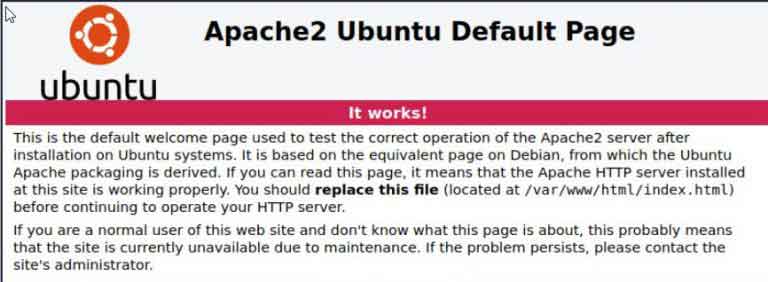
sudo apt install apache2To verify if apache2 was installed properly, in your browser, enter your domain or IP address. If the result is the apache default page like the below screenshot everything is fine.
2. Install Mysql
In your ssh client, use the below command to install Mysql
sudo apt install mysql-server mysql-clientNow we will test if MySQL is installed properly by running the below command:
mysql -u root -pAfter entering the root password. If you see the below screen Mysql was installed properly.

3. Install PHP
Magento 2.4 require PHP 7.4, so we will install php 7.4 in this tutorial.
First, run these lines in advance to update repositories
sudo apt-get install software-properties-common
sudo add-apt-repository ppa:ondrej/php
sudo apt update
Then, run the below line to install PHP 7.4 and all the required PHP extensions
sudo apt install php7.4 libapache2-mod-php7.4 php7.4-common php7.4-gmp php7.4-curl php7.4-soap php7.4-bcmath php7.4-intl php7.4-mbstring php7.4-xmlrpc php7.4-mysql php7.4-gd php7.4-xml php7.4-cli php7.4-zip4. Create database
First, run the command below to log into MySQL
mysql -u root -pNext create a new database named: magento2
CREATE DATABASE magento2;Next create a new user: magedev with password = dev@123456
CREATE USER 'magedev'@'localhost' IDENTIFIED BY 'dev@123456';Then grant access to the database to user magedev.
GRANT ALL ON magento2.* TO 'magedev'@'localhost' IDENTIFIED BY 'dev@123456' WITH GRANT OPTION;5. Install and configure Elasticsearch
From version 2.4 Magento uses Elasticsearch to search instead of using Mysql.
First, we will install Openjdk11 (Java) as Elasticsearch runs on Java
sudo apt install openjdk-11-jdk -yElasticsearch is not available in Ubuntu repositories. To be able to install you will need to add a Source list To get started, use cURL to enter your Elasticsearch public GPG key.
curl -fsSL https://artifacts.elastic.co/GPG-KEY-elasticsearch | sudo apt-key add -Add Elastic-7.x.list to sources.list.d folder
echo "deb https://artifacts.elastic.co/packages/7.x/apt stable main" | sudo tee -a /etc/apt/sources.list.d/elastic-7.x.listThen install Elasticsearch:
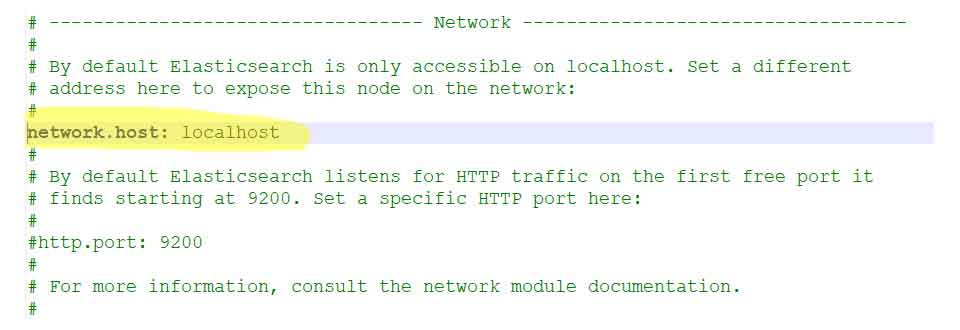
sudo apt install elasticsearchConfigure Elasticsearch: Change file /etc/elasticsearch/elasticsearch.yml
Then find the line network.host uncomment and change it to localhost like below
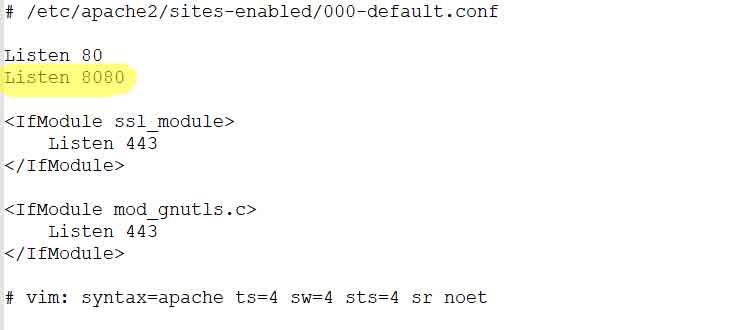
Next add port 8080 to apache listen port file located in: /etc/apache2/ports.conf like below
Next add below code to virtual host file in /etc/apache2/sites-available/magentodomain.conf
<VirtualHost *:8080>
    ProxyPass "/" "http://localhost:9200/"
    ProxyPassReverse "/" "http://localhost:9200/"
</VirtualHost>
Restart apache to apply changes
sudo service apache2 restart
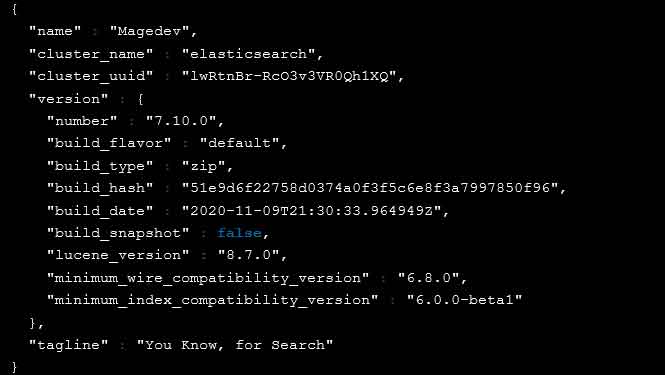
Now start elasticsearch service and test if it’s working properly
sudo systemctl start elasticsearch
curl -X GET 'http://localhost:9200'
If elasticsearch is working properly, the result should be like this
6. Download and Install Magento 2.4
In this articles, we will install Magento 2.4 using composer.
Download and Install composer
sudo apt install curl git
curl -sS https://getcomposer.org/installer | sudo php -- --install-dir=/usr/local/bin --filename=composer
Then proceed to download magento and place it in the var/www/html directory with the command
cd /var/www/html
sudo composer create-project --repository=https://repo.magento.com/ magento/project-community-edition magento2
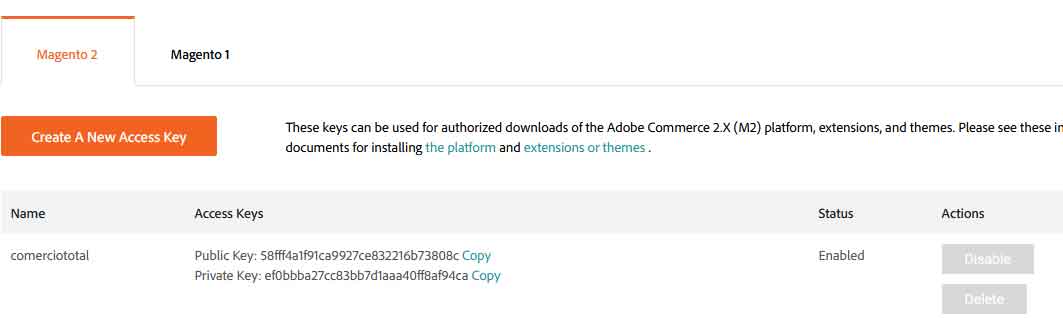
Create an account on Magento marketplace and go here to get private and public access key.
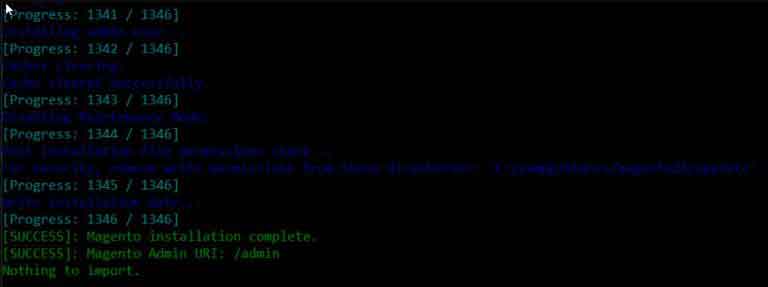
Next run the command below to install Magento 2.4
cd /var/www/html/magento2
php bin/magento setup:install \
--base-url=http://example.com/ \
--db-host=localhost \
--db-name=magento2 \
--db-user=magedev \
--db-password=dev@123456 \
--admin-firstname=Admin \
--admin-lastname=Admin \
--admin-email=user@example.com \
--admin-user=admin \
--admin-password=admin123 \
--language=en_US \
--currency=USD \
--timezone=America/Chicago \
--use-rewrites=1 \
--search-engine=elasticsearch7 \
--elasticsearch-host=localhost \
--elasticsearch-port=9200
When everything is done you will see below screen
Then run the command below to grant the necessary permissions for Magento to work.
sudo chown -R www-data:www-data /var/www/html/magento2Now you can access your store at this url: http://example.com
Troubleshoot admin login authentication error
You may see this error when you go to the admin dashboard page.
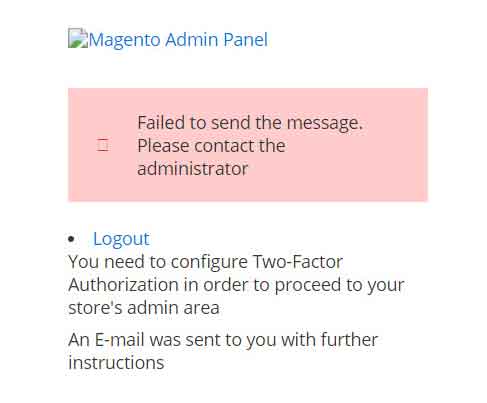
There are 2 ways to fix this: Disable Two-Factor Authorization or follow the steps to enable it
Run the command below to disable module Magento TwoFactorAuth
php bin/magento module:disable Magento_TwoFactorAuthWe have successfully installed Magento 2.4 with Nginx, PHP 7.4 and Mysql on Ubuntu. Contact us if you face any problems during the installation process.