Create Magento 2 Theme step by step
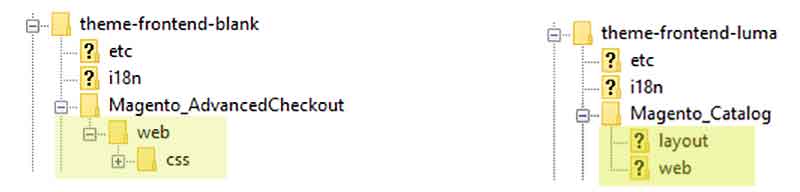
To better understand the structure of magento 2 themes, I suggest you start looking at the two themes available from magento.The Blank theme is only custom CSS, it still keeps the layout from modules.The theme Luma inherits from the theme Blank and you can see it has customizing layout from modules. In this article, we will create Magento 2 theme that inherits from the blank theme.
Let go! First we create a magento theme folder structure like below:
app/design/frontend/vendor name/
├── theme name/
│   ├── etc/
│   │   ├── view.xml
│   ├── meida/
│   │   ├── preview.jpg
│   ├── web/
│   │   ├── images
│   │   │   ├── logo.svg
│   ├── registration.php
│   ├── theme.xml
│   ├── composer.json
You can copy all its from vendor/magento/theme-frontend-blank then we will edit each.
1. Edit theme.xml to declare your theme
<theme xmlns:xsi="http://www.w3.org/2001/XMLSchema-instance" xsi:noNamespaceSchemaLocation="urn:magento:framework:Config/etc/theme.xsd">
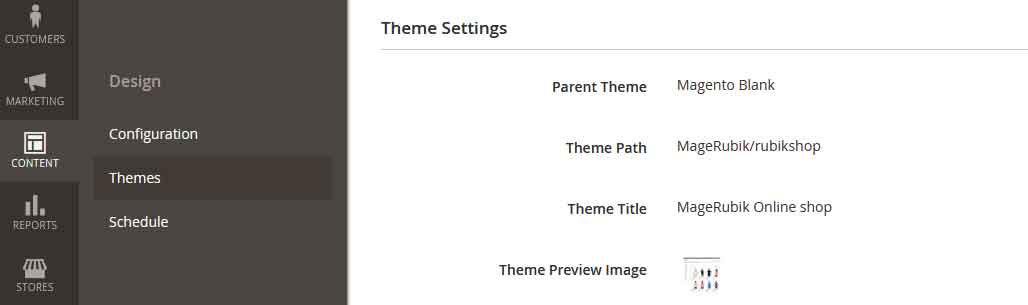
<title>MageRubik Online shop</title> <!-- what you want see on backend -->
<parent>Magento/blank</parent> <!-- the parent theme -->
<media>
<preview_image>media/preview.jpg</preview_image> <!-- your home page layout -->
</media>
</theme>
2. Edit composer.json
This file is not necessary, but you may create a composer.json file to spread a theme as a composer package.
{
    "name": "MageRubik/rubikshop",
    "description": "N/A",
    "config": {
        "sort-packages": true
    },
    "require": {
        "php": "~7.1.3||~7.2.0||~7.3.0",
        "magento/framework": "102.0.*"
    },
    "type": "magento2-theme",
    "license": [
        "OSL-3.0",
        "AFL-3.0"
    ],
    "autoload": {
        "files": [
            "registration.php"
        ]
    },
    "version": "100.3.5"
}
3. Edit registration.php to declare your theme folder
Add your theme path frontend/Magerubik/rubikshop, It mean full path folder theme is app/design/frontend/frontend/Magerubik/rubikshop
<?php
/**
 * Copyright © Magento, Inc. All rights reserved.
 * See COPYING.txt for license details.
 */
use \Magento\Framework\Component\ComponentRegistrar;
ComponentRegistrar::register(ComponentRegistrar::THEME, 'frontend/Magerubik/rubikshop', __DIR__);
4. Edit view.xml
You can change or create new value catalog product images in this file. Example change categories product image:
<images module="Magento_Catalog">
	<image id="category_page_grid" type="small_image">
		<width>240</width><!-- px -->
		<height>240</height>
	</image>
	<image id="category_page_list" type="thumbnail">
		<width>240</width>
		<height>240</height>
	</image>
</images>
- In there:
- – id: it must be unique and will be called in block. Like $block->getImage($_product, ‘category_page_grid’)
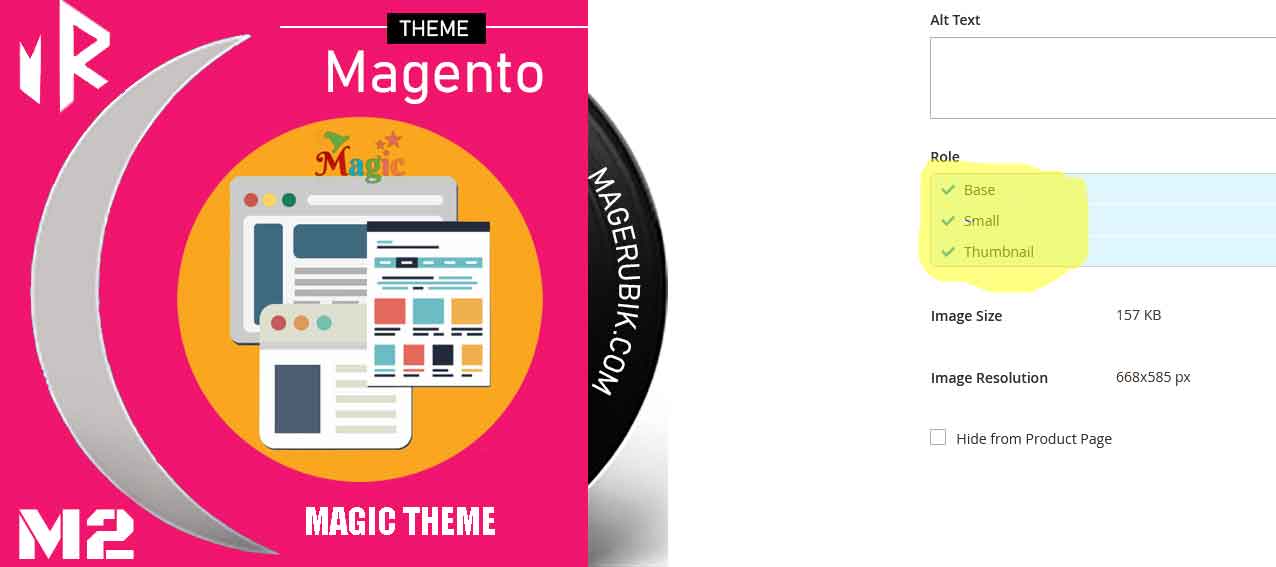
- – type: defined from the backend when you upload an image for each product.
5. Login backend admin
Before, you can also upload the logo.svg, preview.jpg files.
Now we go to the backend to view the results. If you see the below screenshot everything is fine.
Now, we know how to create a Magento 2 theme. In the next posts we will learn how to modify the style and layout. Contact us if you face any problems during the installation process.
You can download the demo code for this entire series from GitHub